This month’s panel planning rundown was sparked by a sad story from reader Stan Smith, who walked away from a big-dollar panel upgrade for his Piper with a fair amount of buyer’s remorse. If only he spent more time overseeing the design and layout—backstopping his freelance A&P who didn’t consider how pilots interact with autopilots and backup instruments.
This is an all-too common trap where the people planning the panel aren’t pilots and just don’t understand how critical the placement of backup instruments and switches really are. But the shop isn’t always to blame. Some aircraft by nature of the structural and space limitations behind the panel simply won’t accommodate what might be the best arrangement. And this is where owners need to understand the process and regs, and how to compromise.
In this case, the backup EFIS was installed in an area of the instrument subpanel that would make it nearly impossible to use when using it as the primary reference during a main-screen or electrical failure. Perhaps worse was the placement of the autopilot controller installed to the right of the main radio stack. “If I had only visited with the shop when they were drawing this out, I wouldn’t be in this predicament,” Smith told me (he ultimately brought the airplane back to have new panels cut a second time, which meant another three months of downtime).
You can’t always get what you want
The majority of new instrument panels are better defined as instrument overlays, which to a degree can also be considered cosmetic. That is, there is no structural airframe modification, though with the right engineering work and paperwork signoffs, you can make certain structural mods.
The starting point is in the FAA guidance. FAA’s AC 43.13-2B is the advisory circular dealing with mechanical guidance, acceptable methods and techniques and practices for airframe alterations, and can be used to help determine if the work will result in a major or minor alteration. It’s AC 43.13 that offers guidance on working with instrument panels. Shops, especially FAA repair stations, should be familiar with it. But some freelance A&Ps may not be experienced in earning an STC and working through field approvals.
Sit behind a mockup
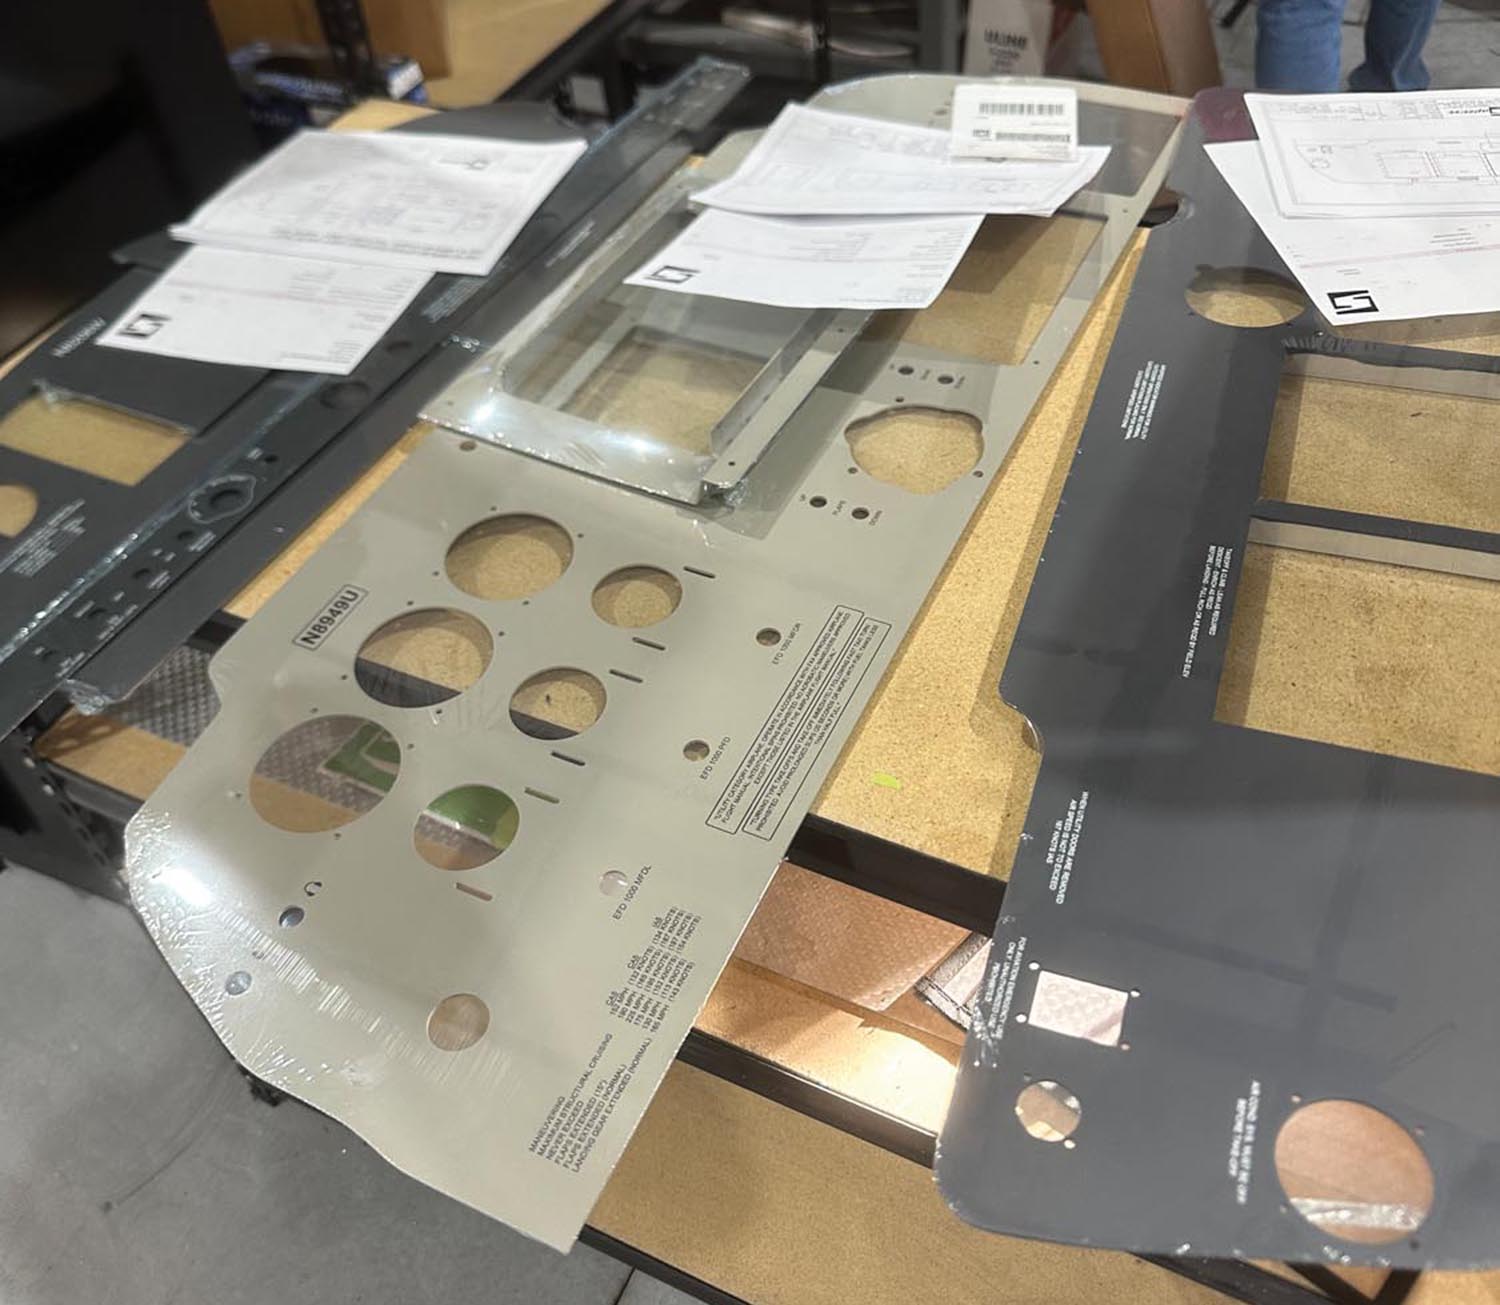
Whether it’s plastic or cardboard templates or full-size printouts of the new instruments and displays, spend some time in the cockpit and check the layout against your field of view and arm reach. Pay particular attention to the placement of system master switches and circuit breakers, making sure you can easily identify and get to them in an emergency and in a dark cockpit. When sitting up straight with the seat in your usual position, check the view to any backup flight instruments and determine if you can comfortably fly partial panel with them.
If the panel has checklist items on it, do the proposed graphics match what’s spelled out in the type certificate data sheet, flight manual and supplements that cover any STCs?
And while electronic instruments can stand alone, you still might want supplemental panel lighting in the form of glareshield strip lighting or overhead spots. Do the panel and avionics dimming systems work? You might need to still use them for controlling bezel key lighting.
Last, when it comes to graphic designs, computer-generated artwork means an endless amount of cool and modern color schemes. But sometimes simpler is better for the best clarity, especially at night. Gray, tan and black are the go-to standards because they simply work well.
These are just the basics to help build a checklist of items to watch for in the early stages of your planning. We’ll follow a new panel fab job from beginning to end in an upcoming report in Aviation Consumer.