This month’s panel planner was inspired by an owner (poor Dave) who got stuck with an old Beech Debonair that ultimately needed over $10,000 in antenna work, which included major skin repairs, when the shop tore the plane apart for an otherwise routine avionics installation.
Whether you’ve owned your airplane for decades or are ready to spend big on one that’s decades old, there’s a valuable lesson to be learned here and it’s simple: Regular inspections and proactive replacement is worth it.
The enemy
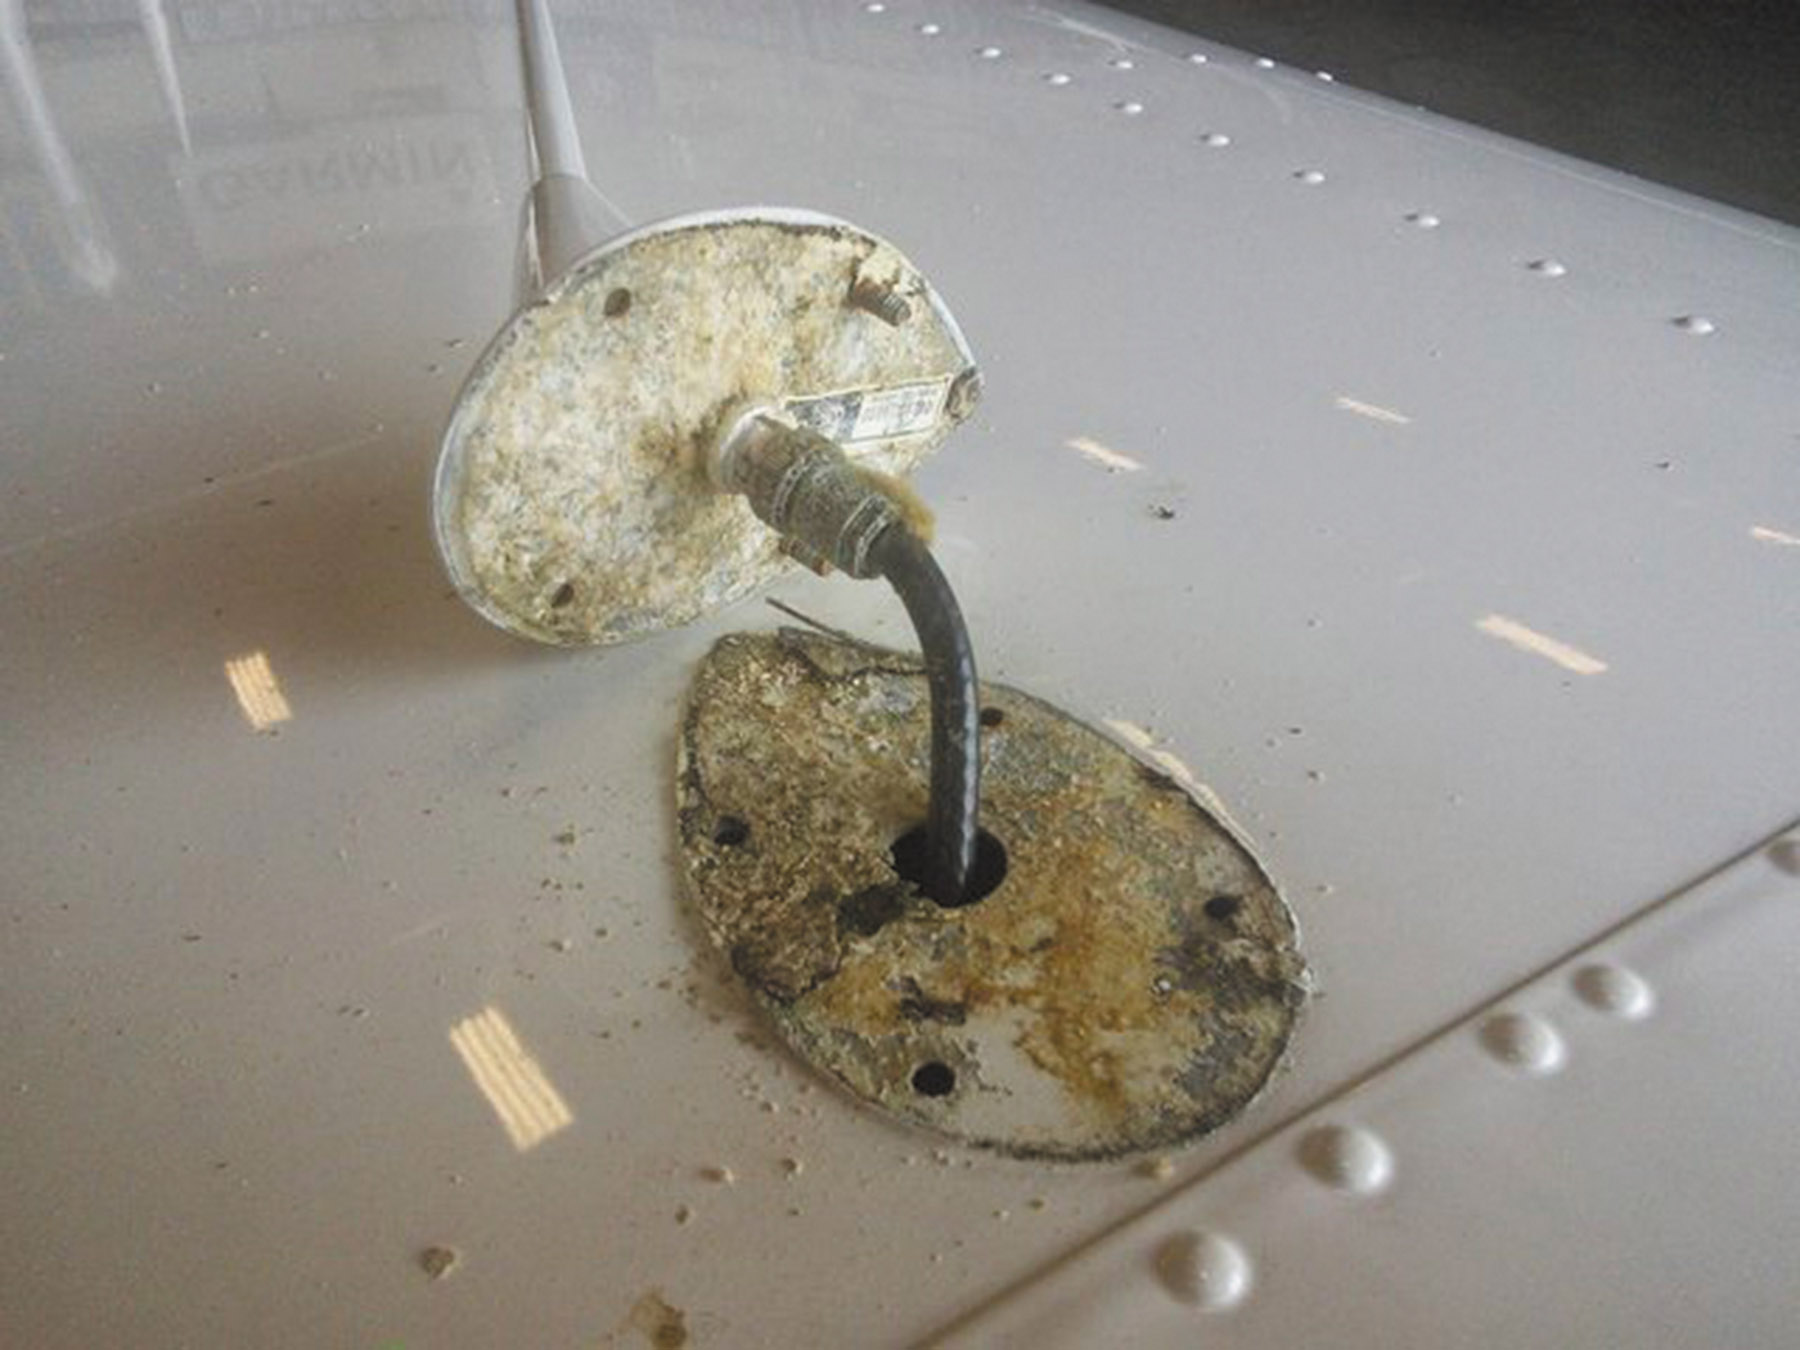
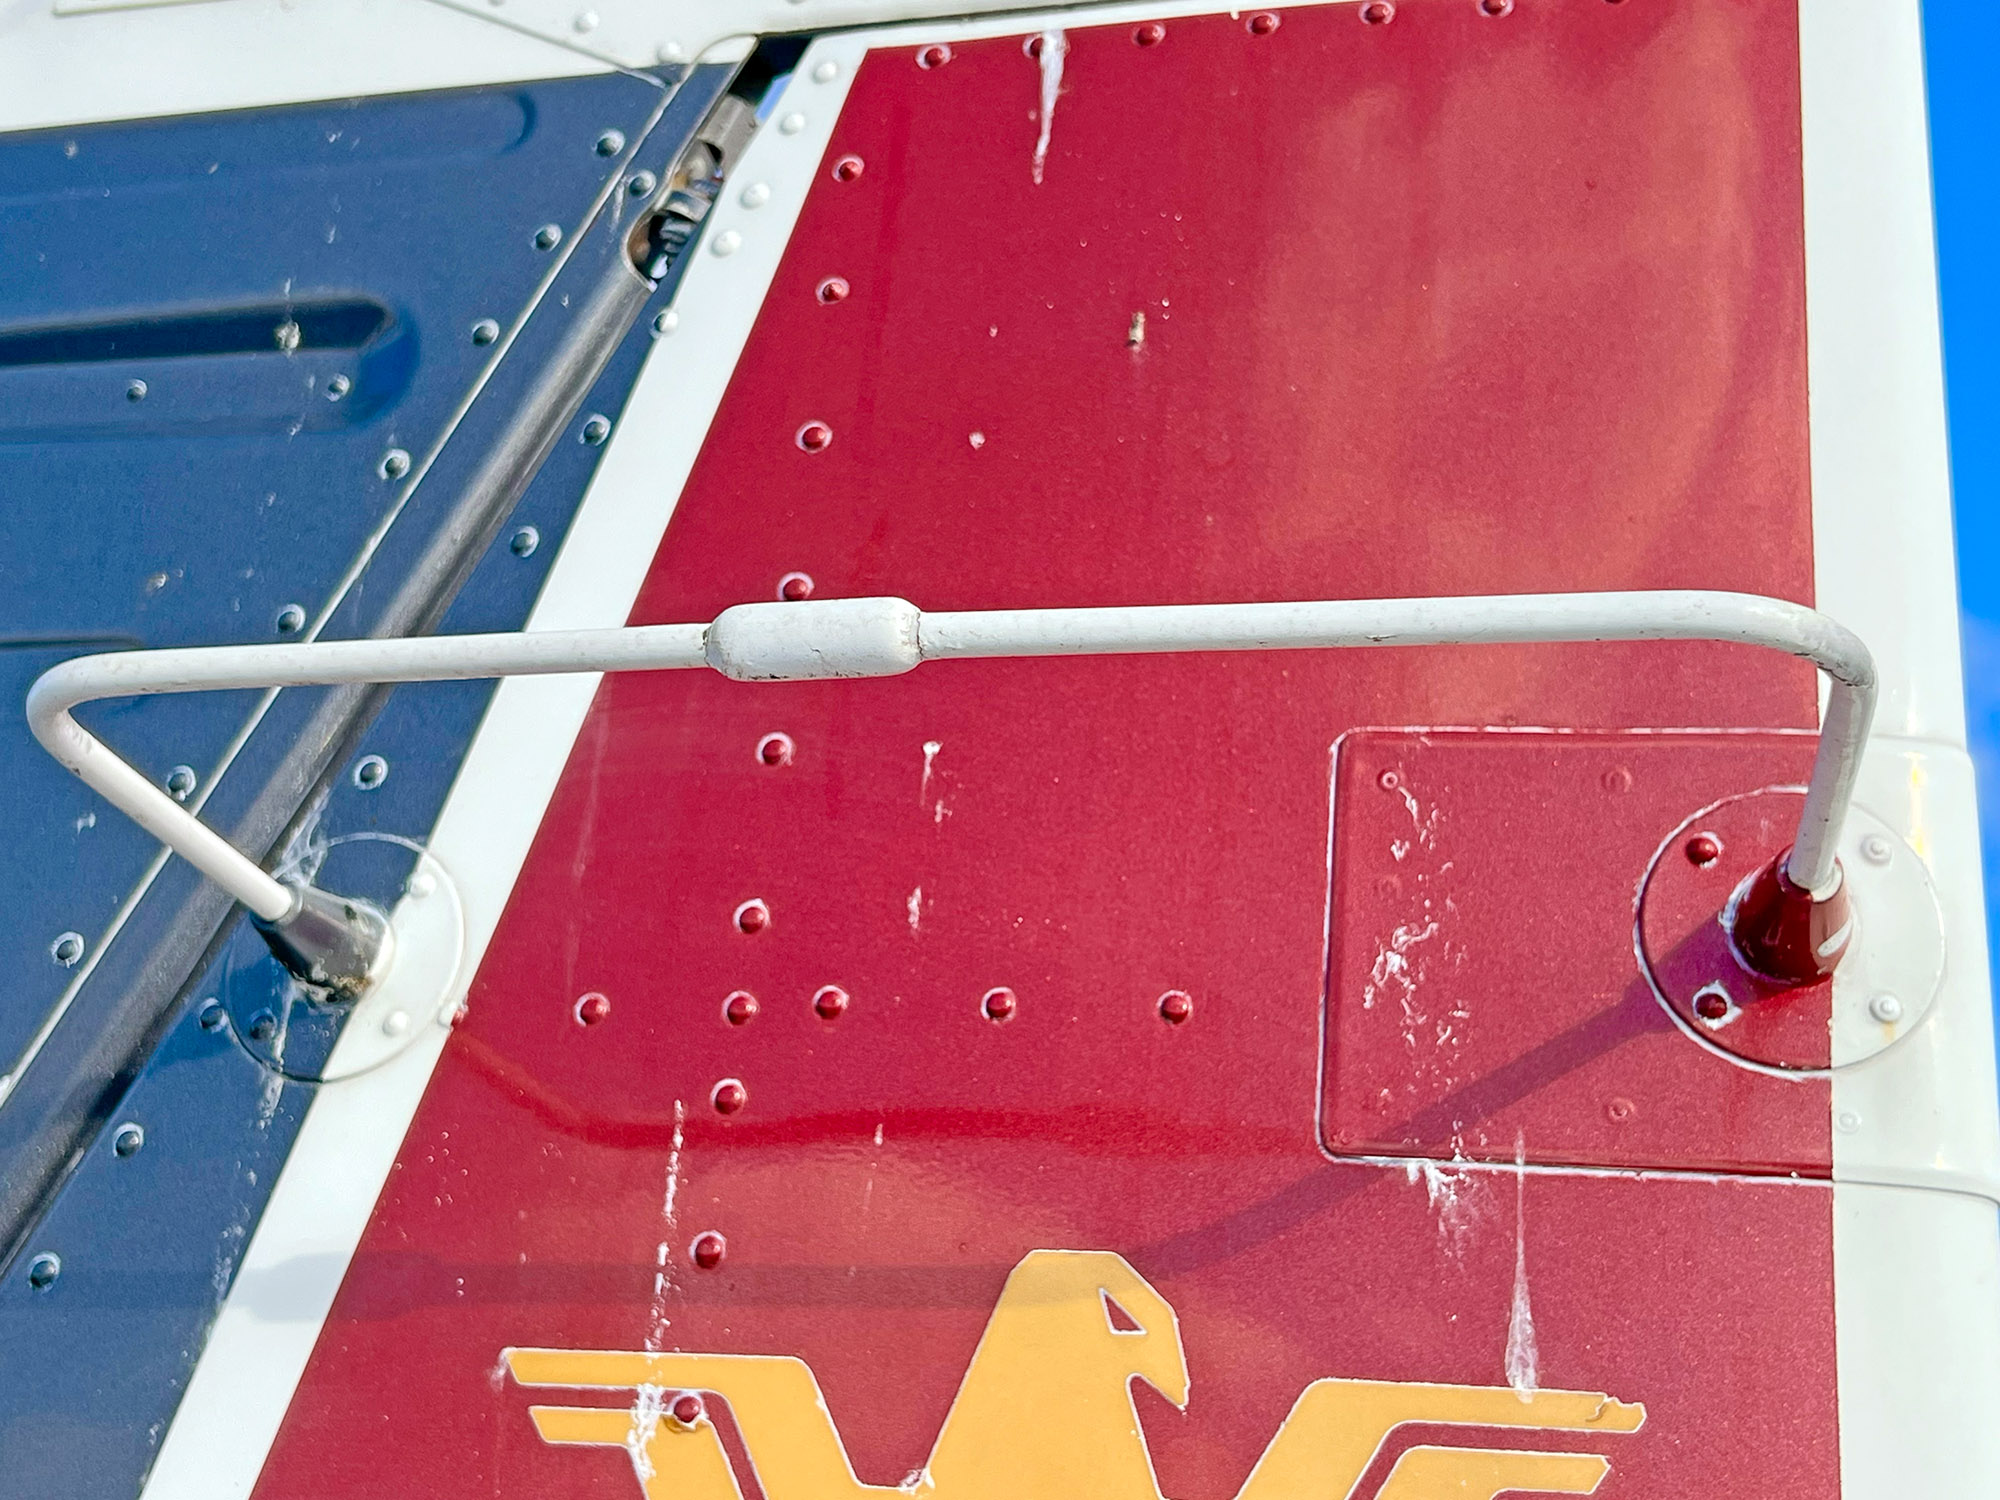
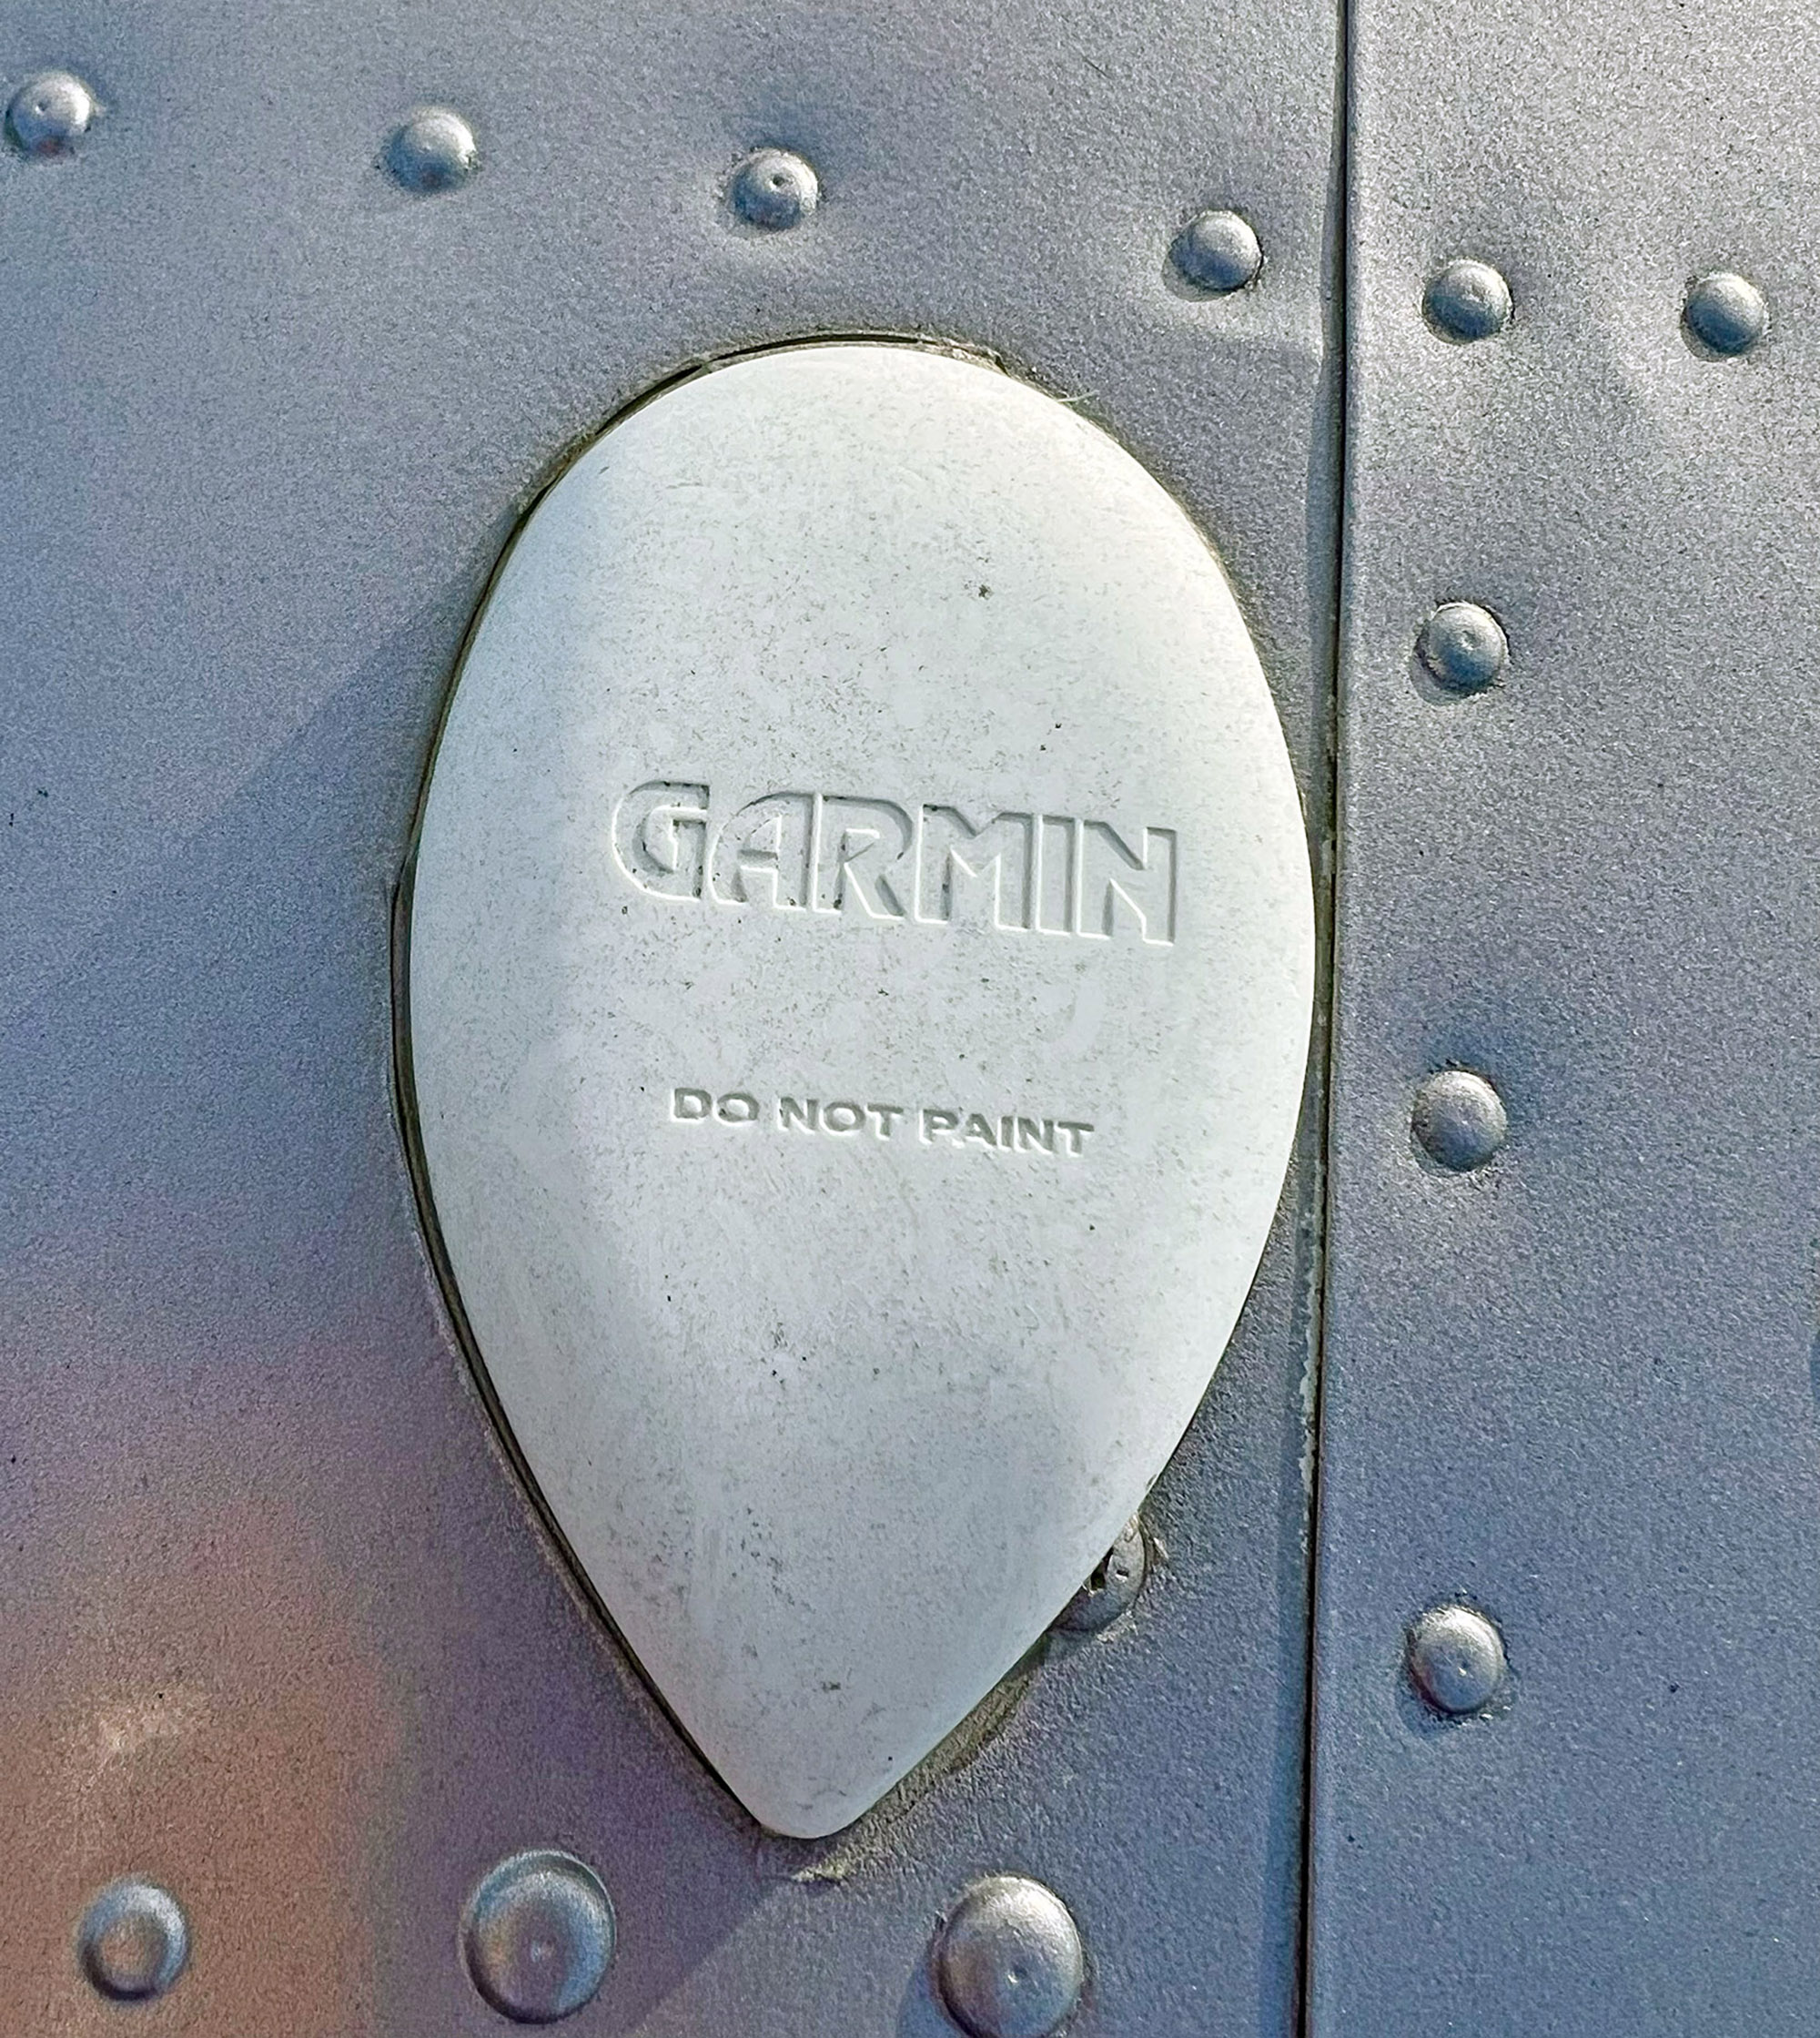
Take a look at the photos to the right. While they aren’t pics of the same airframe, I’d bet money that the skin on the one in the main image looks like it does in the inset. And what are the chances of removing those mounting screws without cutting them out? Not likely.
Like cancer, skin corrosion can spread deep and in areas that might not get inspected. The problem with aging antennas and particularly ones mounted on top of the airframe (like comm antennas) is that water can get under the base of the antenna. Many installers will attempt to seal this area around the antenna’s base with silicone and for the most part it’s effective. But it doesn’t last forever (think about the silicone around a bathtub) when parked out in the elements, and some antennas are installed without any sealant. It’s all a setup for corrosion.
When it’s time
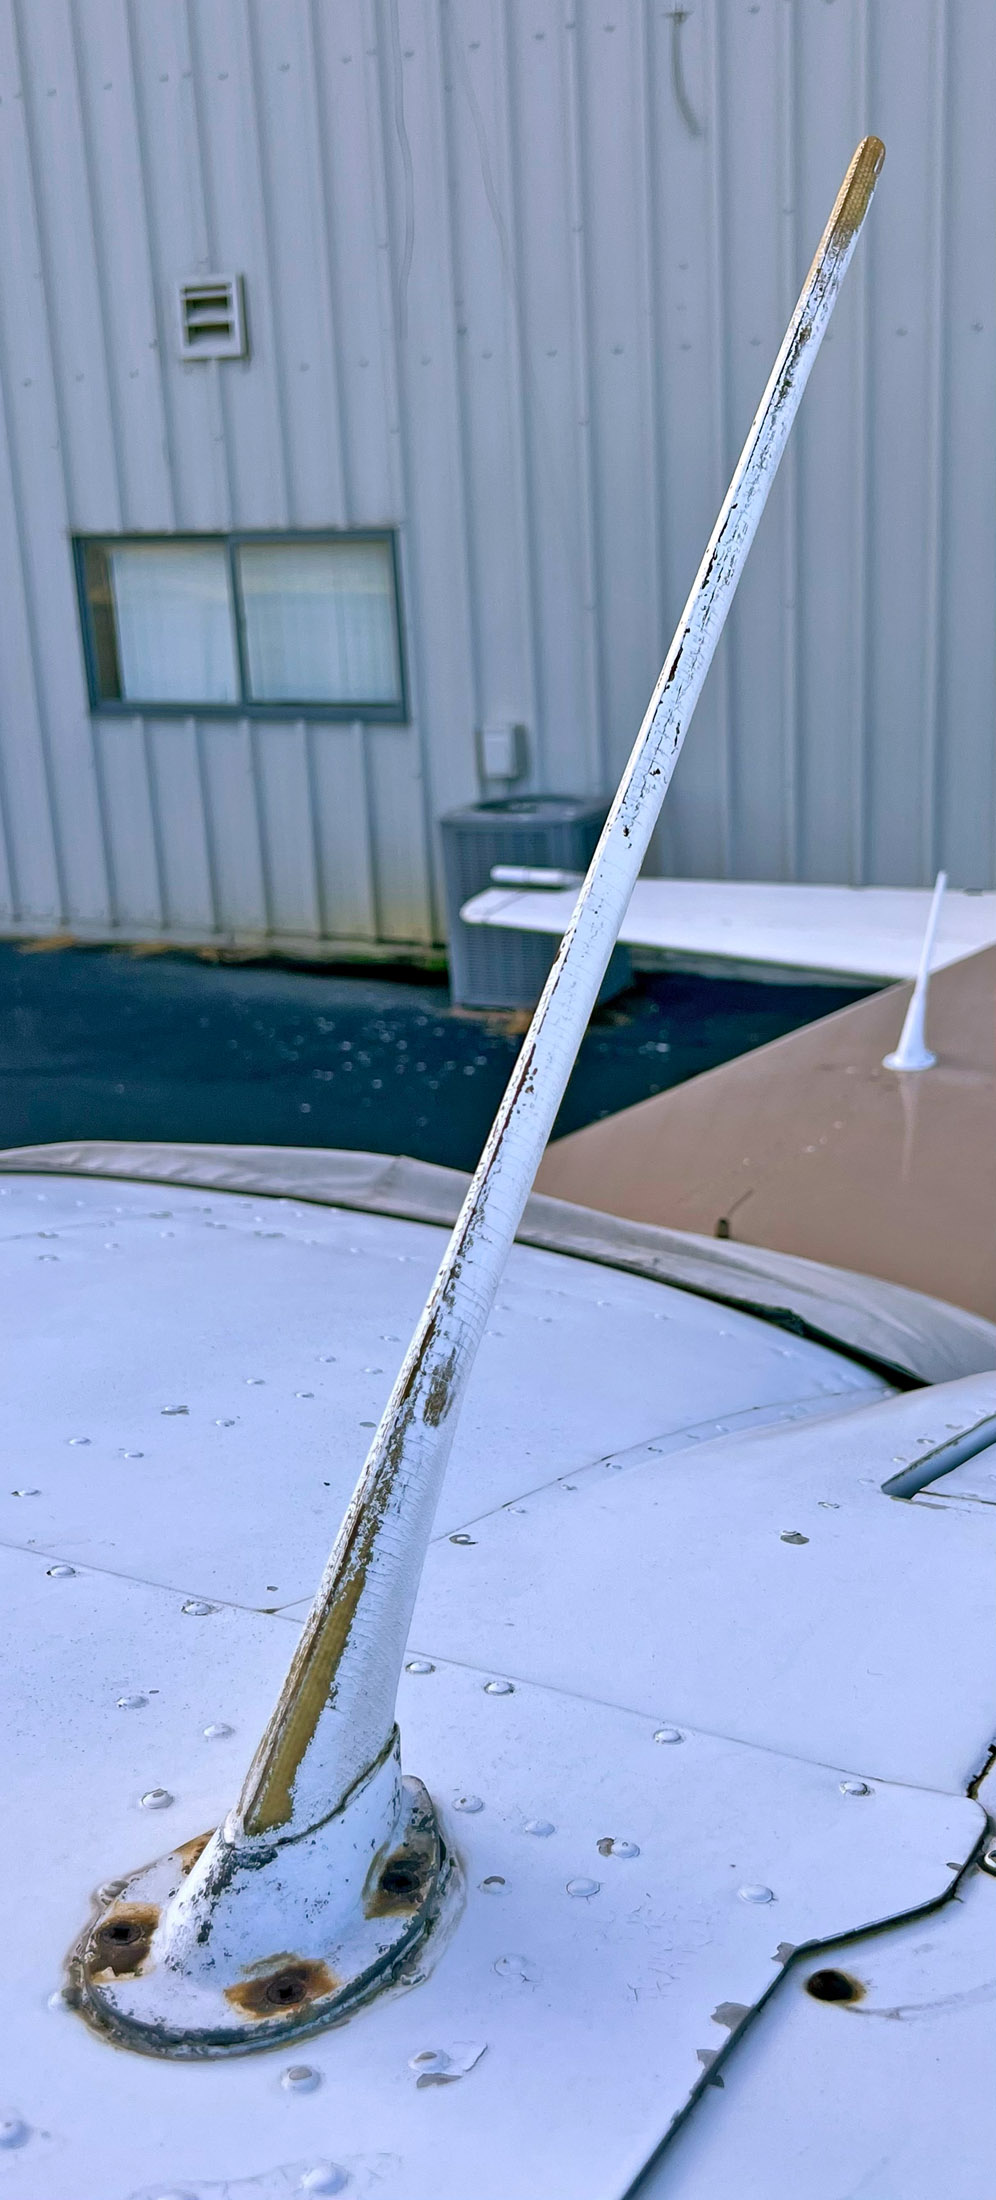 In many situations, it’s easy to recognize when an antenna is overdue for replacement (that skeleton of a comm antenna to the right is worth another look), but many pilots don’t inspect them the way they should. It isn’t always obvious, as is the case with some fiberglass VHF comm antennas.
Many new fiberglass antennas are treated with an anti-static coating. This invisible topcoat helps prevent static buildup, but it eventually wears off and you might notice the annoying (or performance crippling) static in the comm radio reception when you fly in prime conditions—including snow and St. Elmo’s fire. Got static wicks? They can be just as important as good antennas and deserve regular inspection.
An old standard for 118 to 137 MHz VHF comm use and one that’s common on high-wing Cessnas is the Comant CI-121 series, with a footprint that might replace an OEM comm antenna. Aircraft Spruce and others sell them for around $250 each. It’s made of a metal housing with a fiberglass whip finished in glossy white. Amateur paint shops will spray over these antennas (and sometimes over GPS antennas) but they should be removed, the base area of the aircraft’s skin stripped and the surrounding area checked for corrosion. New ones come with a cork Neoprene gasket.
In the shop, bottom-line pricing depends on how long it takes to drop the interior headliner and the cost of the required antenna. Best case is the shop can find a replacement with the same mounting configuration. If not, you’ll pay for the metal work required to make it fit. That’s essentially a skin repair, covering the old holes with a doubler plate.
Check the antenna’s speed rating—the wrong antenna can oil-can and damage the skin (or come off). Basic installs yield a $1000-plus invoice. And it doesn’t usually end there.
Even the best antennas won’t do much good if the coaxial signal cable has issues. The long standard in aircraft wiring has been low-loss twin-shielded cabling. You can often tell the difference between it and non-shielded cable by appearance. Older RG 58 is generally black compared to tan or gold MIL-C17-spec RG 142, generally sold at around $8 per foot. Use the discretion of a trusted shop, but I’d suggest replacing the older coax when replacing an antenna. The same applies to connectors, whether it’s a BNC, TNC or other. Cable and connectors can corrode and it can create a troubleshooting tail chase.
But cable replacement often means sizable amounts of teardown, and it’s generally a job best done while the aircraft is wide open for inspection or other work. Still, it’s worth it for better performance.
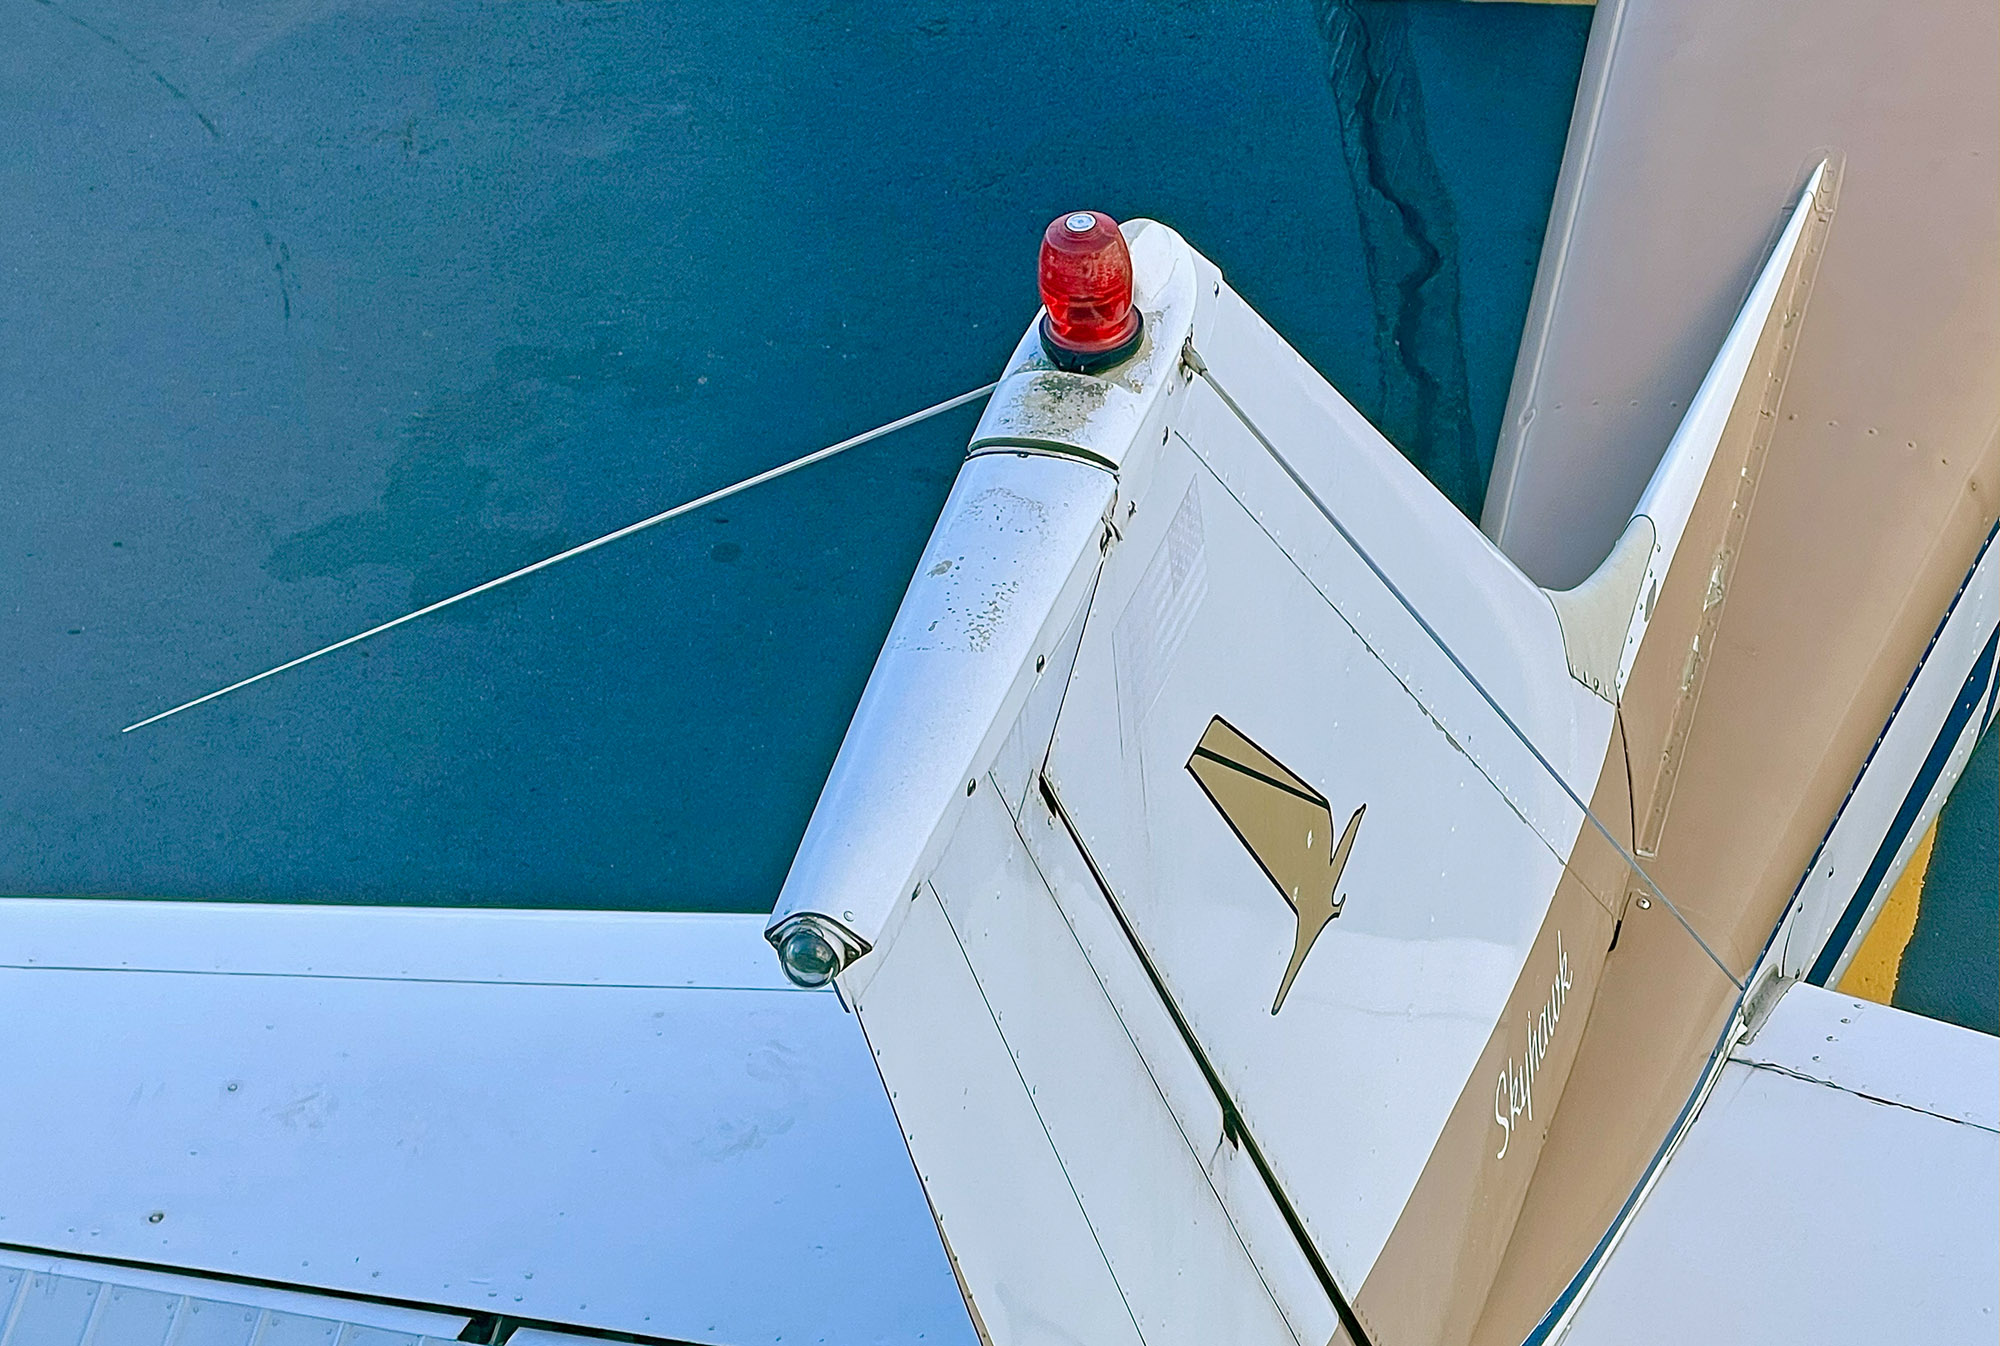
Last, while a single comm antenna generally is split between two comm radios, VHF nav antennas often feed both nav radios in the aircraft through a coaxial splitter. The antenna might be a whisker-type dipole antenna or a heavy-duty blade set that’s inputted through a nav splitter and then branched out to each nav radio. These splitters generally aren’t a source of failure, but instead the pigtails (short runs of cable that connect them to the radios) might be.
A filthy life
That best describes belly-mounted antennas that are often downstream of exhaust and oil blowby crud. It’s amazing that some installers place antennas so close to the hot exhaust stack they melt. Keep an eye on them. How often during preflight inspections do you actually sprawl out underneath the aircraft and look hard at the belly and the antennas? If you did, you might spot antennas loaded with oil and grime. Take the time to regularly clean the antennas with an aircraft-approved solvent or cleaner. And know what you’re looking at during the preflight.
L-Band transponder/ADS-B/traffic antennas are the low-profile blade-style fiberglass antennas, though some are classic rod-and-ball antennas—which aren’t exactly durable and aren’t the best performers. Plus, they’re easy to break when a rookie aggressively hits the aircraft’s belly with a wash brush. It’s a dirty, time-consuming job, but hand-washing is the safest way to not break an antenna.
Marker beacon antennas are usually boat-shaped low-profile fiberglass antennas and should be kept as clean as possible. But some antennas (including marker beacons) might not be connected to anything because an installer removed the rest of the system. The real way to do it is to remove any antenna that has no purpose and install a skin patch. While that might add to the bottom line of a new installation, the cosmetic improvement is worth it, plus it can eliminate unnecessary confusion when troubleshooting.
Antennas are among the most neglected systems on the aircraft, but they’re critical to avionics performance.