An autopilot can be the most complex, costly and frustrating retrofit you can make to an aging aircraft. You might tame the dragon with careful pre-installation planning, which includes buying the right system and selecting a competent shop to put it in. Unfortunately that doesn’t always happen and it’s a setup for serious aggravation.
We’ve had some requests for an autopilot planning article, so if you’ve been thinking of pulling the trigger on an upgrade this report is for you. Ahead of an upcoming autopilot system buyer’s guide, here we’ll offer some shop-level guidance and tips to consider as you noodle this labor-intensive upgrade.
WHY UPGRADE?
You might ask just that after getting the first couple of quotes for an autopilot installation. Expect there to be five digits before the decimal point, and when added to an EFIS, a panel navigator and an ADS-B installation you could be staring down a big avionics job that tops $50,000—or more than the value of some piston singles.
If you’re searching the market for a used aircraft it’s almost always better to find a model that‘s already been upgraded with a modern autopilot as long as it has the modern features you want. The tech has never been better, and if you haven’t shopped the autopilot market in a while you’ll be surprised at what comes standard.
Aside from pitch, roll, heading command and envelope protection, today’s systems fly with more precision because they get their signals from solid-state sensors rather than from spinning vacuum-driven gyros. And it’s that unreliable gyro that may have you upgrading the autopilot in the first place. Some autopilot horizon gyros cost thousands to overhaul, plus reinstallation setup.
Even modest repairs to aging analog autopilots (and the instruments that connect to them) will look less attractive when you eyeball the price of new systems ($10,000 is the sweet spot) that are non-TSO’d, but have an STC for installation in a wide variety of models. This is especially true when bigger systems in complex aircraft need work. If you’ve ever dealt with a major repair to an OEM autopilot in a Cessna or Beech twin you know the number can be big, and given the age of these systems (we’re talking 400-series ARC/Sperry and King KFC-series systems, to name two), you could be throwing good money after bad. Many of these analog systems can be close to 40 years old.
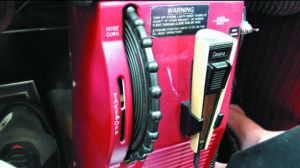
But don’t underestimate the cost of repairing more basic systems, either, including rate-based S-TEC autopilots. The components, including servos, often have flat-rate repair pricing that can run thousands. The bottom line is if you’re faced with the decision to repair an older system or yank it out for a new one, get an accurate proposal for doing both from a shop that knows both ends of the autopilot business. Some shops are good at troubleshooting older systems, but not good at installing new technology, and vice versa. And whose repair is it and what’s the warranty? Will it repair the components in-house or farm it out to the factory or a specialty autopilot shop? Don’t underestimate shipping, troubleshooting and calibration costs.
NEED AN EFIS WITH THAT?
With entry-level retrofit EFIS finally affordably priced, it’s worth considering an autopilot installation at the same time. In fact, some autopilot systems rely on the data from an EFIS to do the driving, so you might be forced into a double upgrade. Garmin’s GFC 500 and 600 autopilots come to mind because the wide-reaching STC for these systems requires one of Garmin’s flight displays in the mix. This includes the G500/600 TXi PFD/MFD, the G5 EFIS and soon the GI 275 display, which should be approved for use with the G500 and G600 autopilots by the end of this year, Garmin said at press time.
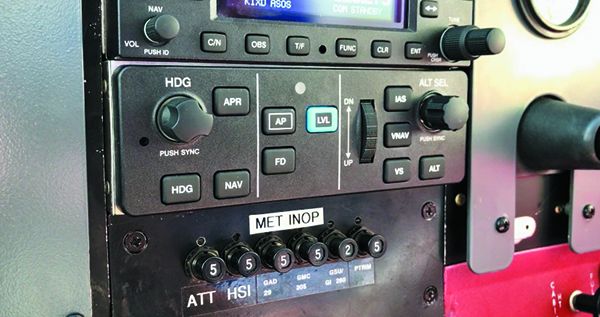
The other benefit to connecting the autopilot to an EFIS might be the ability to operate all of the autopilot’s modes onscreen. This could eliminate the need for a separate autopilot control head, which saves time during the installation. Integrated systems like the Dynon SkyView Certified suite and Garmin G3X Touch have full autopilot integration within their displays, with an option for an electromechanical control head. More standalone interfaces—like Garmin’s G5 flight instrument—can display autopilot mode annunciation and can be used to command climbs, descents and level-offs, while also displaying autopilot command bars.
Think ahead, too. Given the level of integration that exists between the EFIS and autopilot, choose an EFIS carefully especially if you decide to hold off on the autopilot. Remember, the electronic display you install today could be an integral part of the autopilot you install later on—if it’s even compatible at all. Last, your choices will be limited in part to the governing STC. The autopilot you want might not be approved for your airframe, and your EFIS of choice may not might be approved with the autopilot. That’s the case with Garmin’s new TXi-series retrofit displays. While a lot of second-gen Cirrus models (and Piper Malibu/Matrix models) have the Avidyne DFC90 upgrade, the Garmin display/Avidyne autopilot combination isn’t approved via the STC. Work closely with a trusted shop to find the right match.
PLUG AND PLAY
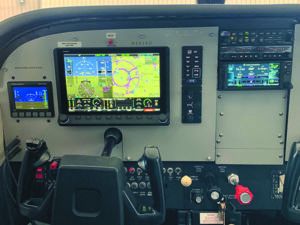
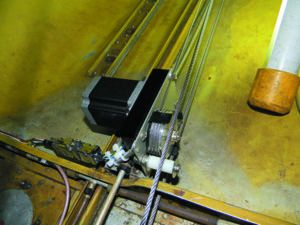
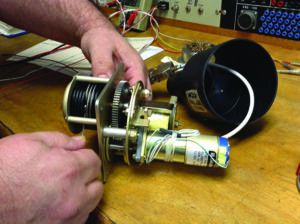
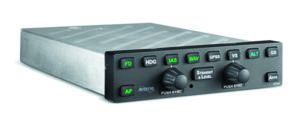
Two systems that substantially curtail the installation effort are the Avidyne DFC90 and the Genesys S-TEC 3100. These are made for a mostly plug-and-play installation with existing S-TEC dual-channel (roll and pitch) turn-coordinator-driven systems, which must also be equipped with electric pitch trim. The new drop-ins use much of the existing wiring that’s connected to the older S-TEC panel console, and drive the existing autopilot servos. This is a double-edged sword. Without a close look at the existing servo’s health, you could fly it away with some issues related to the old servos. Maybe it’s a problem with the mechanical servo clutch or with the drive motor—both high-wear components that wear faster when control cable tensions come out of spec.
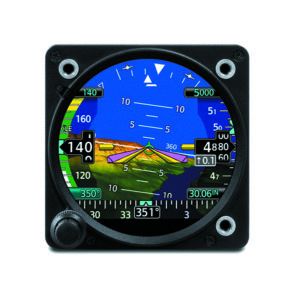
But when they’re good, the digital Avidyne DFC90 (and S-TEC 3100) are outstanding performers, partly because the digital pitch and roll commands outperform the turn coordinator’s analog roll signal. The ride is notably better in turbulence and gone is the sloppy tracking when coupled to a precision approach.
The Avidyne DFC has become a popular upgrade for early-gen Cirrus models, and those so equipped on the used market are far more desirable, in our opinion. These STC-eligible Cirruses have stock Avidyne Entegra integrated glass, and the pitch and roll outputs from the system’s ADAHRS are used to drive the autopilot computer.
Avidyne’s Tom Harper offered some worthy advice to those venturing on a DFC90 upgrade, advising that the installing dealer should thoroughly assess the control cable tensions, servo bridal cable tension, servo clutch torque settings and flight control rigging. The takeaway: “Any airframe deficiencies not corrected may result in the poor performance of the new autopilot,” he told us. We fully agree, and experienced shops we talked with advised to proceed with caution when venturing on a so-called plug-and-play autopilot upgrade.
SHOPPING FOR A SHOP
In our experience this could be the most critical part of the autopilot planning stage. That’s because these installations require a broad knowledge base—from airframe to wiring to avionics databus integration. One of the first questions you should ask a potential shop (other than if it’s an approved dealer for the system you want) is if it has the capability and experience to rig the flight controls. Time and time again we hear stories of tail-chasing troubleshooting of poor-performing new systems because the installer improperly rigged the control cables or didn’t rig them at all. The result of cable tensions set too high or too low might include pitch porpoising, roll oscillations and generally sloppy performance from a system that should ultimately fly the airplane like it’s on rails.
When it comes to autopilot installs you want one-stop shopping. We’ve heard nightmare stories of newly installed autopilots ending up at multiple shops because the installing dealer didn’t have the knowledge or skill to properly rig the airframe. And in some cases, the task is more than adjusting cable tensions. As the airframe ages, slop develops in the flight controls as components wear out, and you might find yourself paying for sizable teardown and service parts to tighten things up. If an autopilot retrofit is in your future, have this addressed during the next annual inspection so the aircraft will go into the autopilot project with known good rigging. Done properly (per the aircraft manufacturer’s maintenance manual) this can be a sizable effort and we’ve seen the task ignored for years until it becomes a costly problem. With any luck you might even chi chi some extra speed with good rigging.
THEY’LL CALL YOU
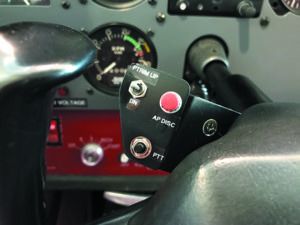
When it comes to autopilot projects patience is a virtue. This is big work with a lot of teardown, including the interior, to run harnesses and mount the brackets and hardware for the autopilot servos. There might also be panel work to mount the autopilot control console and install mode switches in the control yokes. And when it’s all back together, don’t expect the job to be done. There might be lots of setup and gain adjustments that can only be accomplished after some test flights. Shops, in general, won’t take this on by themselves and you’ll find yourself flying as a test pilot.
While the aircraft is down, spend the time to learn as much as you can about the autopilot and how it interfaces with other systems. In many cases there will be a sizable learning curve, especially when programming the suite to fly approach procedures. Maybe limit your flying to VFR for the first few hours.
We’ll look at specific autopilot models in an upcoming autopilot roundup article.

