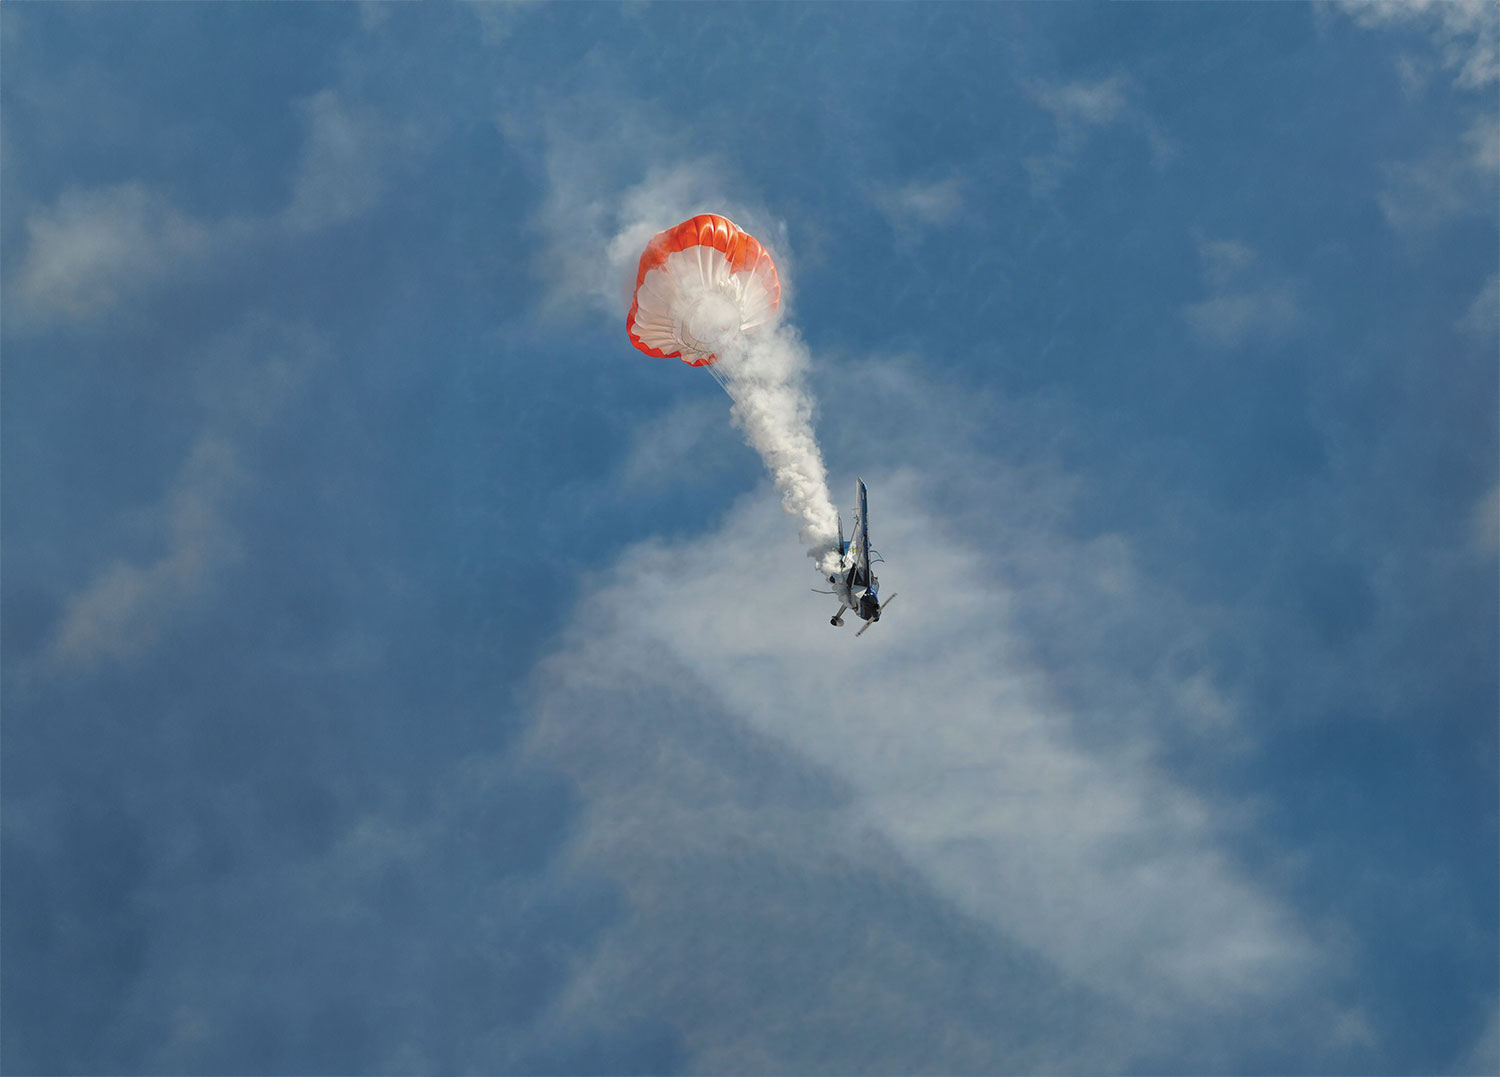
When I was first taking aerobatic dual, my instructor spent some time discussing the use of the parachutes we were required to wear. We set a hard altitude at which we would get out of the airplane if we could not make it do what we wanted, be it due to structural failure, unrecoverable spin or other nightmare. In a joking manner he recited a brief mantra: “When in danger or in doubt, pull the handle and step out.”

The handle to which he referred was the cabin door release handle.

I thought of that ditty the first time I prepared to fly a Cirrus SR20 and was briefed on use of what I never thought would ever be installed on a general aviation airplane—a whole-airplane parachute.

The idea had been around since at least the 1930s when drawings were published for a parachute for airliners—DC-3s. The weight involved made the concept preposterous, so it was the source of jokes until it wasn’t.

Depiction of a BRS deployment in a four-place Cessna from sister publication AVweb. 1. Moments after the pilot pulls the BRS handle, the rocket punches through the rear window, pulling the parachute out of the container. 2. Parachute begins to inflate. 3. As the parachute inflates, the slider ring slides down the suspension lines, slowing inflation so that the parachute does not open so suddenly that the system fails. 4. Parachute inflated and line cutter has cut suspension lines so that the aircraft is slightly nose high and will touch down on the main gear first.

Invention

In 1975 inventor Boris Popov survived a 400-foot descent/fall when things went south as he was flying a towed hang glider. The experience caused him to found Ballistic Recovery Systems (BRS) and create a successful whole-airplane, rocket-deployed parachute.

Popov obtained his first patent on August 26, 1986, and started working with aircraft manufacturers and homebuilders to install the BRS system (Systems with a capital “S” denotes the company; system, or systems, with a small “s” denotes the parachute and rocket combination) on homebuilt and production airplanes and eventually helicopters.

BRS installed in the baggage compartment of a Cessna 182.

Best known of the BRS products are those making up the Cirrus Aircraft Parachute System (CAPS) installed on every Cirrus.

As BRS deployments in Cirrus aircraft (and to a lesser extent homebuilts and LSAs) received publicity, word began to get around that the whole-airplane parachute concept was for real and was saving lives.

Demand for BRS systems caused more aircraft and homebuilt manufacturers to offer BRS systems as standard or optional equipment on production aircraft and LSAs (Icon and CubCrafters come to mind) and experimental aircraft as well as retrofits for an increasing number of aircraft.

Two Models Only

There are only two FAA Part 23 certificated airplanes for which there are STC’d BRS retrofits—later models of the Cessna 172 and 182. From what I’ve observed, that’s because there has been steady demand for the mods—the mod for the Cessna 150/152 is no longer offered, apparently because of lack of demand.

In exploring the BRS mod for the 172 and 182 I was curious as to the cost-benefit equation for installation, what’s involved in the installation and the guidance available to pilots for making the decision to deploy the system when a flight ceases going as planned.

The handle that deploys the ‘chute in a Cessna 172 or 182 is located in a box mounted behind the fuel selector. Because of the location of the deployment handle and its cable to the rocket igniter, the system cannot be installed in a Cessna 172 or 182 with manual flaps.

The BRS retrofits for the 172 and 182 are only available on the airplanes with electric flaps. The location of the system deployment handle, and its cable to the rocket, is on the floor aft of the fuel selector. That’s right where the manual flap handle is installed.

In speaking with shops that do BRS installs, I was given prices of $28,000 for the 172 kit and $31,000 for the 182. Aircraft Spruce lists them at $28,295 and $29,829, respectively. In speaking with the shops, I found that most offer a package price for the kit plus labor, in the range of $33,000 to $35,000—although if additional work is required such as moving antennas, the price goes up.

All shops required a deposit and said that lead time for the kits can vary. There are fairings that attach to the top of the aircraft and have to be paint matched. Shops said that they liked to have two weeks for the paint on the fairings to cure before starting the installation.

Fast Install

I was told that the installation itself takes five days. However, Chris Gardner at Sierra Hotel Aero in South St. Paul, Minnesota—the shop that has probably performed the most installations—said that working around the airplane’s rear window requires some care, especially with older airplanes, and can add time.Cutting a slit in the rear window of a 182 for the Kevlar parachute suspension straps, middle. Mounting a steel bracket on the sidewall of a 182 where one of the four suspension cables will attach to the airframe, bottom. All photos courtesy of Goodrich Aviation.

Cutting a slit in the rear window of a 182 for the Kevlar parachute suspension straps, middle. Mounting a steel bracket on the sidewall of a 182 where one of the four suspension cables will attach to the airframe, bottom. Photos courtesy of Goodrich Aviation.

Doug Goodrich, proprietor of Goodrich Aviation, Johnson City, New York, went further and said that it’s not uncommon for the condition of interior plastic and the rear window on older Cessnas to require replacement in conjunction with a BRS installation. Goodrich Aviation has some excellent videos on BRS installation on its website.

Chris Gardner praised the quality of the BRS kits out of the box. In all the time his shop had been installing them he’d had one kit with one improperly made part. A call to BRS brought a replacement immediately.

Manual

Shops said that the BRS Owners Manual and General Installation Guide is well-written and easy to follow. It is on the BRS website and I recommend it for anyone considering the mod. I particularly like the section on when and when not to active the system. Someone did some thinking in preparing the manual.

Weight of the BRS system installed is 85 pounds. It goes in the baggage area and takes up a fair amount of space—about half of the compartment in older 182s with the dinkiest baggage areas.

The four Kevlar straps that connect to the parachute risers attach in front to brackets above each side of the cabin and the forward wing spar attach point and in the rear to steel brackets that are attached to the airframe at the bottom rear of the side windows. The straps and parachute are in a pack that is mounted with the rocket on the right side of the baggage area. The straps to the forward wing attach point go up through the rear window, then forward over the roof of the cabin where they make a T intersection to the forward attach points. Fairings cover the straps on the top of the airplane. This portion of the installation may require relocation of antennas.

Part of the installation includes adding rear seat shoulder harnesses as they are required by the kit.

Deployment

When the deployment handle is pulled, the rocket ignites and fires through the rear window, pulling the parachute out, and the straps pull off the fairings on top of the airplane.

Once the parachute inflates, a pyrotechnic line cutter cuts some of the suspension lines so that the aircraft rotates into a slightly nose-up attitude so that it touches down on the main landing gear. BRS says that the maximum vertical speed at touchdown can be as high as 20 MPH, although material I reviewed said that it was more commonly between 14 and 17 MPH. The BRS manual has information for seating position for the occupants at touchdown to minimize injury.

Repack

Once installed there is virtually no maintenance required; however, the system must be repacked every 10 years. Chris Gardner said that takes about six hours of shop time—pull the container, send it to BRS, get it back and reinstall it. Total cost is currently about $12,000.

The line cutters must be replaced every five years.

Cost Benefit

Balancing cost and benefit of a BRS retrofit is a very personal matter for each owner. I was told that shops doing the work have customers from all over the world and a number of new 172s and 182s are flown from the factory for a BRS install.

The ongoing record of lives saved with BRS systems speaks increasingly loudly, especially to a pilot who regularly flies over tall rocks, water and/or at night. That can make the decision to buy pretty easy.

Cirrus Caps Repacks: Plan Months in Advance

The Cirrus Airframe Parachute System (CAPS) progressed from a seemingly controversial novelty to well-accepted lifesaving device through dint of steadily carrying out its intended purpose. As we go to press there have been a reported (by the Cirrus Owners and Pilots Association) 129 saves with 265 survivors following CAPS inflight deployments. The presence of CAPS is also one of the reasons that so many Cirrus aircraft have been sold.

The degree to which CAPS has been accepted by, and changed the thinking of, general aviation pilots was reflected in our last month’s article on buying piston twins. A number of twin owners indicated that they felt safer flying over terrain and/or at night in a Cirrus than a piston twin. They considered the CAPS a better safety device than a second engine.

CAPS is activated by someone in the cabin pulling the parachute handle in the ceiling headliner. That deploys a solid-fuel rocket out of a hatch that covers the compartment where the parachute lives, pulling it up and aft. The harness straps come out of the fuselage as the parachute opens. Not surprisingly, a parachute system must be periodically repacked. The CAPS has a 10-year repack requirement and it includes replacement of the rocket and overhaul or replacement of the other components.

Because pyrotechnics are involved a CAPS repack can’t be conducted by any A&P who walks slowly by the hangar door. It must be done by an approved Cirrus Service Center with technicians who have been trained by Cirrus. All of those techs who handle the rocket must comply with appropriate regulations of the Bureau of Alcohol, Tobacco, Firearms and Explosives—including undergoing a background check as well as periodic inspections of the shop by Bureau inspectors. Not surprisingly, inspections include confirming that rockets are properly stored and ones coming out of aircraft go through an appropriate disposal procedure.

While a repack is not a terribly complex procedure (details below) we received word that the supply chain for components is jammed up and directors of maintenance told us to suggest that if you have a repack coming, schedule it six to eight months ahead.

While first generation (G1) Cirrus aircraft are generally the best bargains on the used market, their repacks are more expensive than all succeeding generations. That’s because the CAPS fuselage cover was redesigned for G2 and subsequent aircraft. For G1 birds, the access cover requires drilling a hole in the fiberglass cover and using a slide hammer to break the bond between the fuselage and cover. That damages the surrounding fiberglass and requires structure and cosmetic repair when reinstalling the cover. That’s a G1 Cirrus in the photo below (photo courtesy of Joel Glover of flyADVANCED, New Castle, Delaware). The cover in G2 and later aircraft can be removed and replaced without damage to the surrounding fiberglass so no repair work is required.

Once the cover is off, the tech removes the line cutters. The two primary straps are disconnected from the parachute so it can be removed. Then it’s a matter of putting the replacement parachute, hardware and rocket into the bay and securing them. Cirrus is now using a newer version of the rocket with a different igniter. Shops told us that for most repacks, especially G1 aircraft, that means some rewiring during the rocket installation.

For G2 and later aircraft the parachute cover is simply reinstalled. For a G1 aircraft, a new parachute cover is required because the old one was damaged when it was removed. The cover is bonded into place using a low-level adhesive so that it’s well attached but will break away when the rocket hits it during deployment.

Then it’s bodywork and paint to complete the job.

Shops told us that they try to make the body work invisible—they don’t want owners to be able to see evidence of fiberglass and paint work. Unfortunately, they also told us that it’s not unusual for aircraft that have been neglected and/or stored in sunlight to show up for repacks with faded or stained paint. That will make the new fiberglass work of the repack stand out rather dramatically.

Prices for repacks were consistent among the shops we spoke with—about $17,000 for parts and labor for G2 and later airplanes and about $25,000 for parts and labor for G1 aircraft. A G1 repack generally takes two weeks due to the body work required while G2 and later aircraft can be done in a day to a day and a half.

A side effect of the popularity of Cirrus aircraft and CAPS is that there are a lot of airplanes needing repacks at any given time and the supply chain is significantly strained.  We heard a number of complaints about the time it takes to get parts. One director of maintenance said he didn’t want to talk about Cirrus right now because he couldn’t say anything nice.